You spend hours slaving over a hot lawn mower to make sure it’s the best-looking one on the block. If you’re a hardcore lawn care enthusiast, you’ve probably got more than a few Husqvarna tools in your garage or shed, and these cutting-edge machines won’t just help you keep up with the Joneses – they’ll help you blow them away.
But after you’ve fertilized, seeded, watered, mowed and edged, it might seem like there’s nothing left you can do to give your lawn the final cosmetic boost it needs to be the envy of the entire neighborhood. If you’re ready to take your lawn care to the next level, it might be time to look into striping designs that can make your yard look like the pristinely manicured outfield of a professional baseball stadium. In fact, though you might think designing a tight checkerboard or diamond pattern on your lawn is something only landscaping companies and Major League baseball groundskeepers are capable of, you can give your lawn a facelift with nothing more than your trusty Husqvarna mower and a bit of ingenuity.
 Press your grass for the best looking lawn on the block.
Tools of the trade
The first step in getting an intricate design into your lawn is to understand how professionals actually manage to do so in the first place. There are a few misconceptions about the practice, with some people believing that it has to do with cutting grass at different heights or even blending in multiple strains of grass in a single lawn to get different color gradients on the blades.
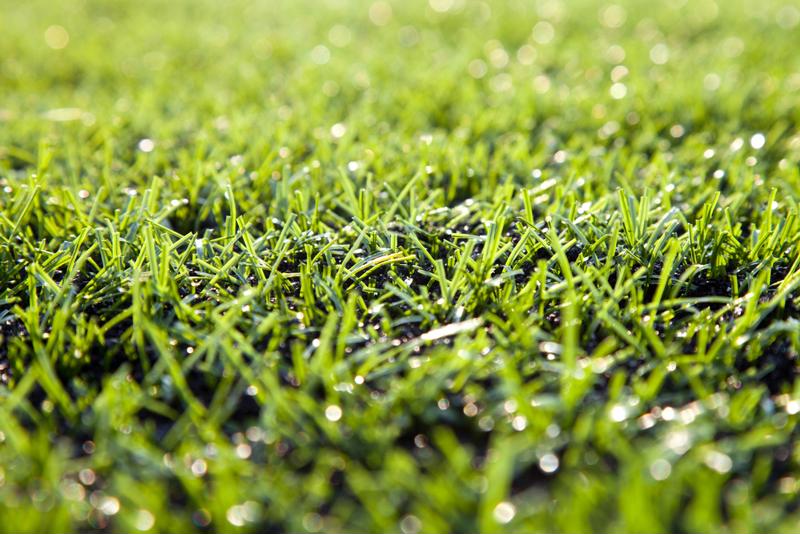
However, the simple truth of patterning your lawn has nothing to do with cutting, planting or anything complex like that. Instead, it’s all about bending. By pressing grass in opposite directions, the reflection of the sun creates differing stripes of light and dark, which allows you to create some pretty intricate designs considering.
What do you need to press your grass in a way that’ll leave clearly defined and beautiful stripes in your lawn? A professionally made roller that attaches to the back of your lawn mower will give you the best results. These usually snap, screw or tie securely out of the way of the blades of your mower, so as long as you remember not to reverse while it’s attached, you should be free from damaging your mower or your roller.
However, you could also go the low-rent route and make your own pressing implement. Many do-it-yourselfers have used heavy doormats, snow chains, or PVC pipe filled with sand to press grass after going over it with the mower.
Design No. 1: Candystripes
If you’re new to the grass pressing game and want to dip a toe into the water before jumping in, a simple striping pattern should be enough to show you the ropes without leaving you with a mangled lawn.
Make sure your rolling attachment is securely fastened to your mower and then fire that puppy up. The first thing you’ll want to do is take care of the perimeter of your lawn. Make one or two passes around the very outside of your yard. This will give you ample room to make turns without ruining your carefully wrought design.
When you’ve finished the perimeter, it’s time to start striping your lawn. The key here is alternating directions – if you start heading to the right, the next adjacent stripe should be mowed in the opposite direction. This will allow the roller to press the grass in opposing vectors, which will result in much more clearly defined lines. Continue alternating until you reach the end of your yard, and then repeat. Even though you might not be cutting much on the second pass, pressing the grass again gives a clearer definition between stripes.
Take a final pass around the perimeter to clean up any ragged edges, turn off your mower and marvel at your grass mastery.
Design No. 2: Checkerboard
So there’s another house in the neighborhood with striping on its lawn and you’re not willing to give up your crown of lawn champion. Ditch the candystripes and go with the slightly more advanced checkerboard pattern. Here’s how.
“Instead of two differently colored stripes of grass, you’ll have five.”
First, you’ll want to start off with a basic striping design. When that’s finished and your perimeter is cleaned up, you’ll want to repeat the process, but perpendicular to the original lines. For example, if your first set of stripes ran toward and away from your house, the second set should run the length of your lawn. Instead of two differently colored stripes of grass, you’ll have five – two from the first set, two from the second, and an additional one from where they intersect.
Design No. 3: The Diamond Lane
If you can handle the checkerboard pattern without too much trouble, it’s worth it to check out how diamond patterns look on your lawn as well. In fact, the directions to creating a design of diagonally intersecting stripes of grass on your lawn is essentially the same as the checkerboard. If you can manage to rotate it in your head by 90 degrees before you start cutting, you’ve already done most of the heavy lifting.
However, one of the difficult things about perfecting the diamond design is keeping your lines straight on the first few passes. When you don’t have the edge of your lawn to keep you on track, you’re liable to veer off course and press swervy lines into your lawn. An old outdoorsman trick is to keep your eyes focused on a landmark in the distance but directly in-line with where you want your stripe to finish. Your feet have a tendency to go wherever your eyes and head are pointing, so fight the temptation to check out how your grass is looking and keep your chin up.